

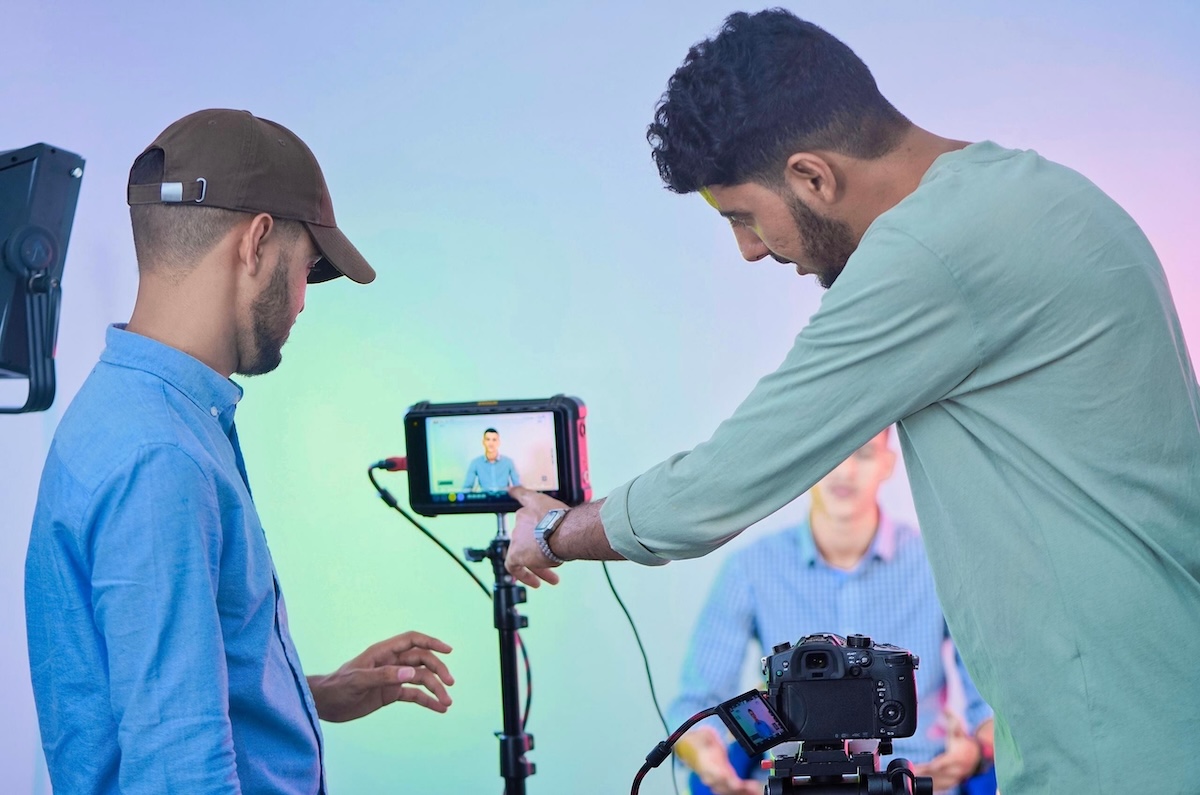
You don’t need a $300 video editing suite or a $2,000 camera lens to edit professional videos for your business. This step-by-step tutorial breaks down how to use Wondershare Filmora’s AI Matting and Square Blur features to isolate your video background, duplicate timeline tracks, and create a crisp DSLR depth-of-field effect in seconds – plus a core strategy for turning everyday tasks into consistent marketing content.
Quick Answers – Jump to Section
- Why Background Quality Matters for Your Brand
- Final Cut Pro vs. Filmora: Why Pay More?
- Step-by-Step: How to Blur Your Background in Filmora
- Useful Shortcuts to Speed Up Your Workflow
- The “Document, Don’t Create” Content Strategy
- Final Thoughts & A Special Launch Offer
- Frequently Asked Questions
Why Background Quality Matters for Your Brand
When you record casual YouTube videos or social clips, recording in your normal office space is fine. People expect raw, authentic environments.
However, when you are filming a primary hero video for your new company website, clutter in the background distracts from your message. You want the viewer’s attention locked onto you, not what’s sitting on the shelf behind you.
I ran into this exact situation while producing the new introductory video for our freshly launched site. I wanted that soft, cinematic background blur, but I didn’t want to overhaul my camera setup or waste hours in heavy editing suites.
When you record casual YouTube videos or social clips, recording in your normal office space is fine. People expect raw, authentic environments, even as how AI is changing the way customers find and judge web3 brands forces teams to sharpen their overall visual authority.
Final Cut Pro vs. Filmora: Why Pay More?
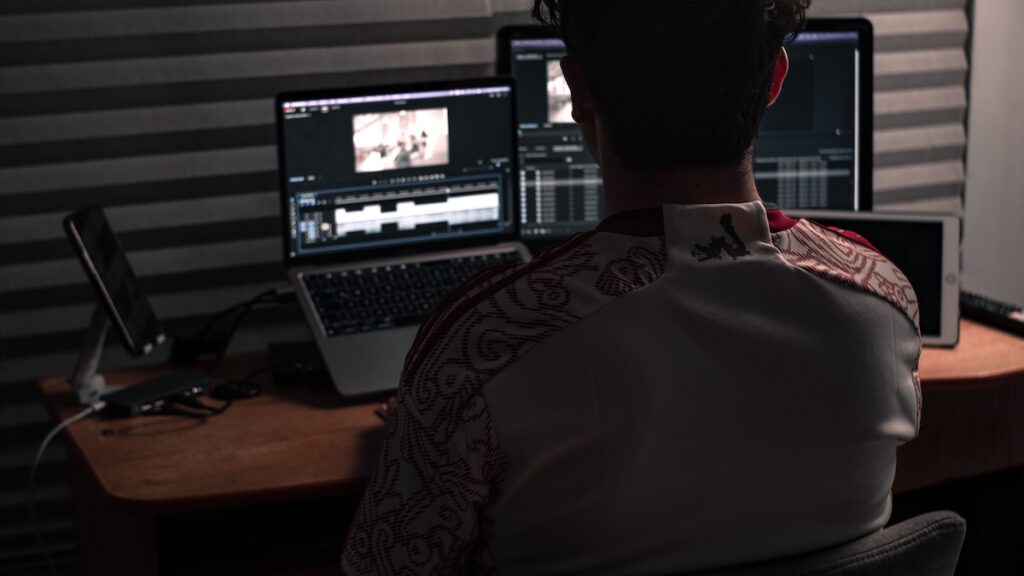
I love Final Cut Pro. I’ve used it extensively in the past, and if you’re editing a full feature film, it’s fantastic. But for 95% of business owners, creators, and marketers, it’s wildly expensive and overly complex.
Wondershare Filmora gives you roughly 90% of the functionality at a fraction of the cost – and you can even try it for free. It runs smoothly on both Mac and Windows, features solid AI tools, and pairs exceptionally well alongside a webcatalog desktop apps setup for productivity when managing multiple creator tools.
Step-by-Step: How to Blur Your Background in Filmora
Below are the instructions on how to do this, or you can watch me show you how on my latest YouTube video. If you leave a comment I will run a free audit on your website. See the benefit of this in our special launch offer below.
To get the blurred background effect, you are essentially stacking two identical versions of your video on top of each other: the bottom layer gets blurred, and the top layer cuts out your outline using AI.
[ Track 2 (Top) ]: Original Video Clip  +  AI Portrait (Cuts out background)
[ Track 1 (Bottom) ]: Duplicate Video Clip  +  Square Blur Effect (Background)
Here is the exact step-by-step process:
- Duplicate Your Clip: Drag your main video clip onto Track 1. Select the clip and duplicate it (
Cmd + Don Mac). Move the duplicated clip up to Track 2, directly above the original. - Apply the Blur to Track 1: Click on Effects in the top navigation, search for Square Blur, and drag the effect onto the bottom clip (Track 1).
- Adjust the Blur Opacity: Double-click the bottom clip to tweak the blur settings. A blur size around 20 works best—it softens the background room without making it look completely unnatural.
- Isolate Yourself on Track 2: Double-click the top clip on Track 2. Go to Video > AI Tools / AI Matting and toggle on AI Portrait.
Boom! Filmora instantly removes the background of the top video layer, allowing the soft, blurred background from Track 1 to show through behind you.
Useful Shortcuts to Speed Up Your Workflow
Editing quickly comes down to mastering a few core key combinations:
| Action | Mac Shortcut | Windows Shortcut |
| Duplicate Clip | Cmd + D | Ctrl + D |
| Undo Last Action | Cmd + Z | Ctrl + Z |
| Redo Action | Cmd + Shift + Z | Ctrl + Shift + Z |
| Zoom Timeline | Pinch / Two-finger spread on trackpad | Ctrl + Mouse Wheel |
Filmora also features Auto Ripple (which automatically shifts subsequent clips when you delete or insert edits) and Magnetic Timeline (which snaps main track clips together to eliminate gaps).
The “Document, Don’t Create” Content Strategy
Here is the most important marketing takeaway from this entire process: I didn’t plan to create a video or blog post about Filmora today.
I was simply working on my new website, needed to fix a background issue, and realized, “Hey, this might help someone else.” So I hit record and documented what I was doing anyway.
If you struggle with content consistency, stop trying to invent new topics out of thin air. Look at the software you use, the problem you solved for a client this morning, or how your team is using tools like Gamma to build decks and docs faster. Turn your everyday tasks into educational content.
Final Thoughts & A Special Launch Offer
Upgrading your video assets doesn’t require a Hollywood budget—it just requires knowing which tools leverage AI to do the heavy lifting for you.
Speaking of upgrades, our new company website is officially live! After recently tackling a major security overhaul – much like fixing a hacked wordpress site for free – we’ve completely rebuilt our platform to showcase how our Growth Engine Blueprint helps brands establish category authority, dominate search results, and get cited inside AI search engines.
🎁 Exclusive Free Site Audit Offer
Head over to our new website, check out the new design, and reply directly to this email or leave a comment on this post with your honest feedback.
As a thank you, I will personally create a custom website & growth audit for your business, walking you through the exact technical fixes, keyword opportunities, and messaging shifts you need to make to attract more high-paying clients.
Frequently Asked Questions
Can I use the Filmora AI Portrait tool on a PC?
Yes. Wondershare Filmora offers identical features across both macOS and Windows. The AI Portrait and AI Matting features work on both platforms without needing a green screen.
Do I need a green screen to blur my background in Filmora?
No. Filmora’s AI Matting feature automatically detects human outlines in video frames, allowing you to separate yourself from the background without using physical chroma key setups or green screens.
Is Filmora free to use?
Filmora offers a free trial version that includes access to most editing features, including AI Matting and effects. To export videos without a watermark, you can upgrade to a paid license, which remains significantly cheaper than traditional professional editing software.
Download your free copy of the Growth Engine Blueprint here and start accelerating your leads.
Want to know how we can guarantee a mighty boost to your traffic, rank, reputation and authority in you niche?
Tap here to chat to me and I’ll show you how we make it happen.
If you’ve enjoyed reading today’s blog, please share our blog link below.
Do you have a blog on business and marketing that you’d like to share on influxjuice.com/blog? Contact me at rob@influxjuice.com.
Latest Blogs
- How to Edit Professional Videos for Your Business on a Budget
- Why Google Is Turning Into an Answer Engine, and What It Means for Web3 Teams
- Why Web3 Teams Are Turning to Gamma to Build Decks and Docs Faster
- Cyber5 Prep for Web3 Brands: Get Your Paid Media Ready Before Costs Spike
- How AI Is Changing the Way Customers Find and Judge Web3 Brands